AVIF: The Next Generation Image Format
Comprehensive guide to AVIF (AV1 Image File Format) - superior compression, HDR support, wide color gamut, and why it's the future of web images.
AVIF is what happens when the people who made modern video compression decide to fix images. It’s ridiculously good at making files smaller (we’re talking 50-60% smaller than JPEG) while actually looking better. If WebP made you excited, AVIF is going to blow your mind.
What is AVIF?
AVIF stands for AV1 Image File Format - basically someone took the AV1 video codec (which is excellent) and turned it into an image format. The Alliance for Open Media standardized it in 2019, and it’s completely royalty-free.
Here’s what makes it special:
- Files are typically 30-50% smaller than JPEG (and 20% smaller than WebP!)
- Supports HDR (High Dynamic Range) - your photos can finally look as good as they did in real life
- 10-bit and 12-bit color instead of just 8-bit (billions of colors vs millions)
- Wide color gamut support (Display P3, Rec. 2020)
- Both lossy and lossless compression
- Progressive rendering (images load gradually like old-school JPEGs)
The compression is legitimately impressive. Like, “wait, is this actually the same image?” impressive.
Why AVIF is kind of a big deal
The compression numbers are wild
Let’s talk real numbers with the same image:
Original JPEG: 245 KB
Same as WebP:  156 KB (36% smaller)
Same as AVIF:   98 KB (60% smaller)
That’s not a typo. AVIF is genuinely 60% smaller than JPEG at the same quality. Sometimes even better quality.
For a website with 2 MB of images per page, switching to AVIF could get you down to 800 KB. That’s the difference between “loading…” and “already loaded” for people on slower connections.
It actually looks better
This is the weird part - AVIF doesn’t just make files smaller, it often makes them look better:
- Gradients: No more banding in skies and smooth color transitions
- Edges: Sharp details stay sharp without weird artifacts
- Skin tones: Portraits look smoother and more natural
- Dark areas: Shadow detail is preserved way better
If you’re a photographer, this is huge. JPEG destroys subtle tonal transitions. AVIF keeps them.
Modern color support
Remember how your amazing sunset photo looks washed out on your website? That’s because JPEG is stuck with 8-bit sRGB color from like 1996.
AVIF supports:
- 10-bit color (1.07 billion colors - great for HDR)
- 12-bit color (68.7 billion colors - for when you really care)
- Wide color gamuts like Display P3 (what modern phones/monitors actually use)
- Rec. 2020 (future-proofing)
Your images can finally look as vibrant on screen as they do in your camera.
Browser support (the honest version)
As of 2025, AVIF works in:
- Chrome and Edge (since 2020)
- Firefox (since 2021)
- Safari (since 2022 - they were slower than usual)
- Opera and most modern mobile browsers
That’s about 85% of users. The other 15% are on older browsers or… Internet Explorer is technically still out there somewhere (RIP).
The catch: You need fallbacks. Always. More on that below.
Is it really better than WebP?
Short answer: Yes, but it’s more complicated.
File sizes: AVIF wins by a lot. 20-30% smaller than WebP, which is already 30% smaller than JPEG.
Quality: AVIF handles complex images better. Gradients, skin tones, dark areas - all look noticeably better.
Compatibility: WebP has about 96% browser support, AVIF has 85%. WebP wins here.
Encoding speed: WebP is way faster. AVIF can take 5-15 seconds to encode a single image. WebP takes under a second.
So which should you use? Both. Serve AVIF to browsers that support it, fall back to WebP, and have JPEG as the ultimate fallback.
See for yourself
These are real comparisons. Same images, different compression:
JPEG vs AVIF
AVIF is about 80% smaller with the same (or better) visual quality. Check out how much better the gradients look.


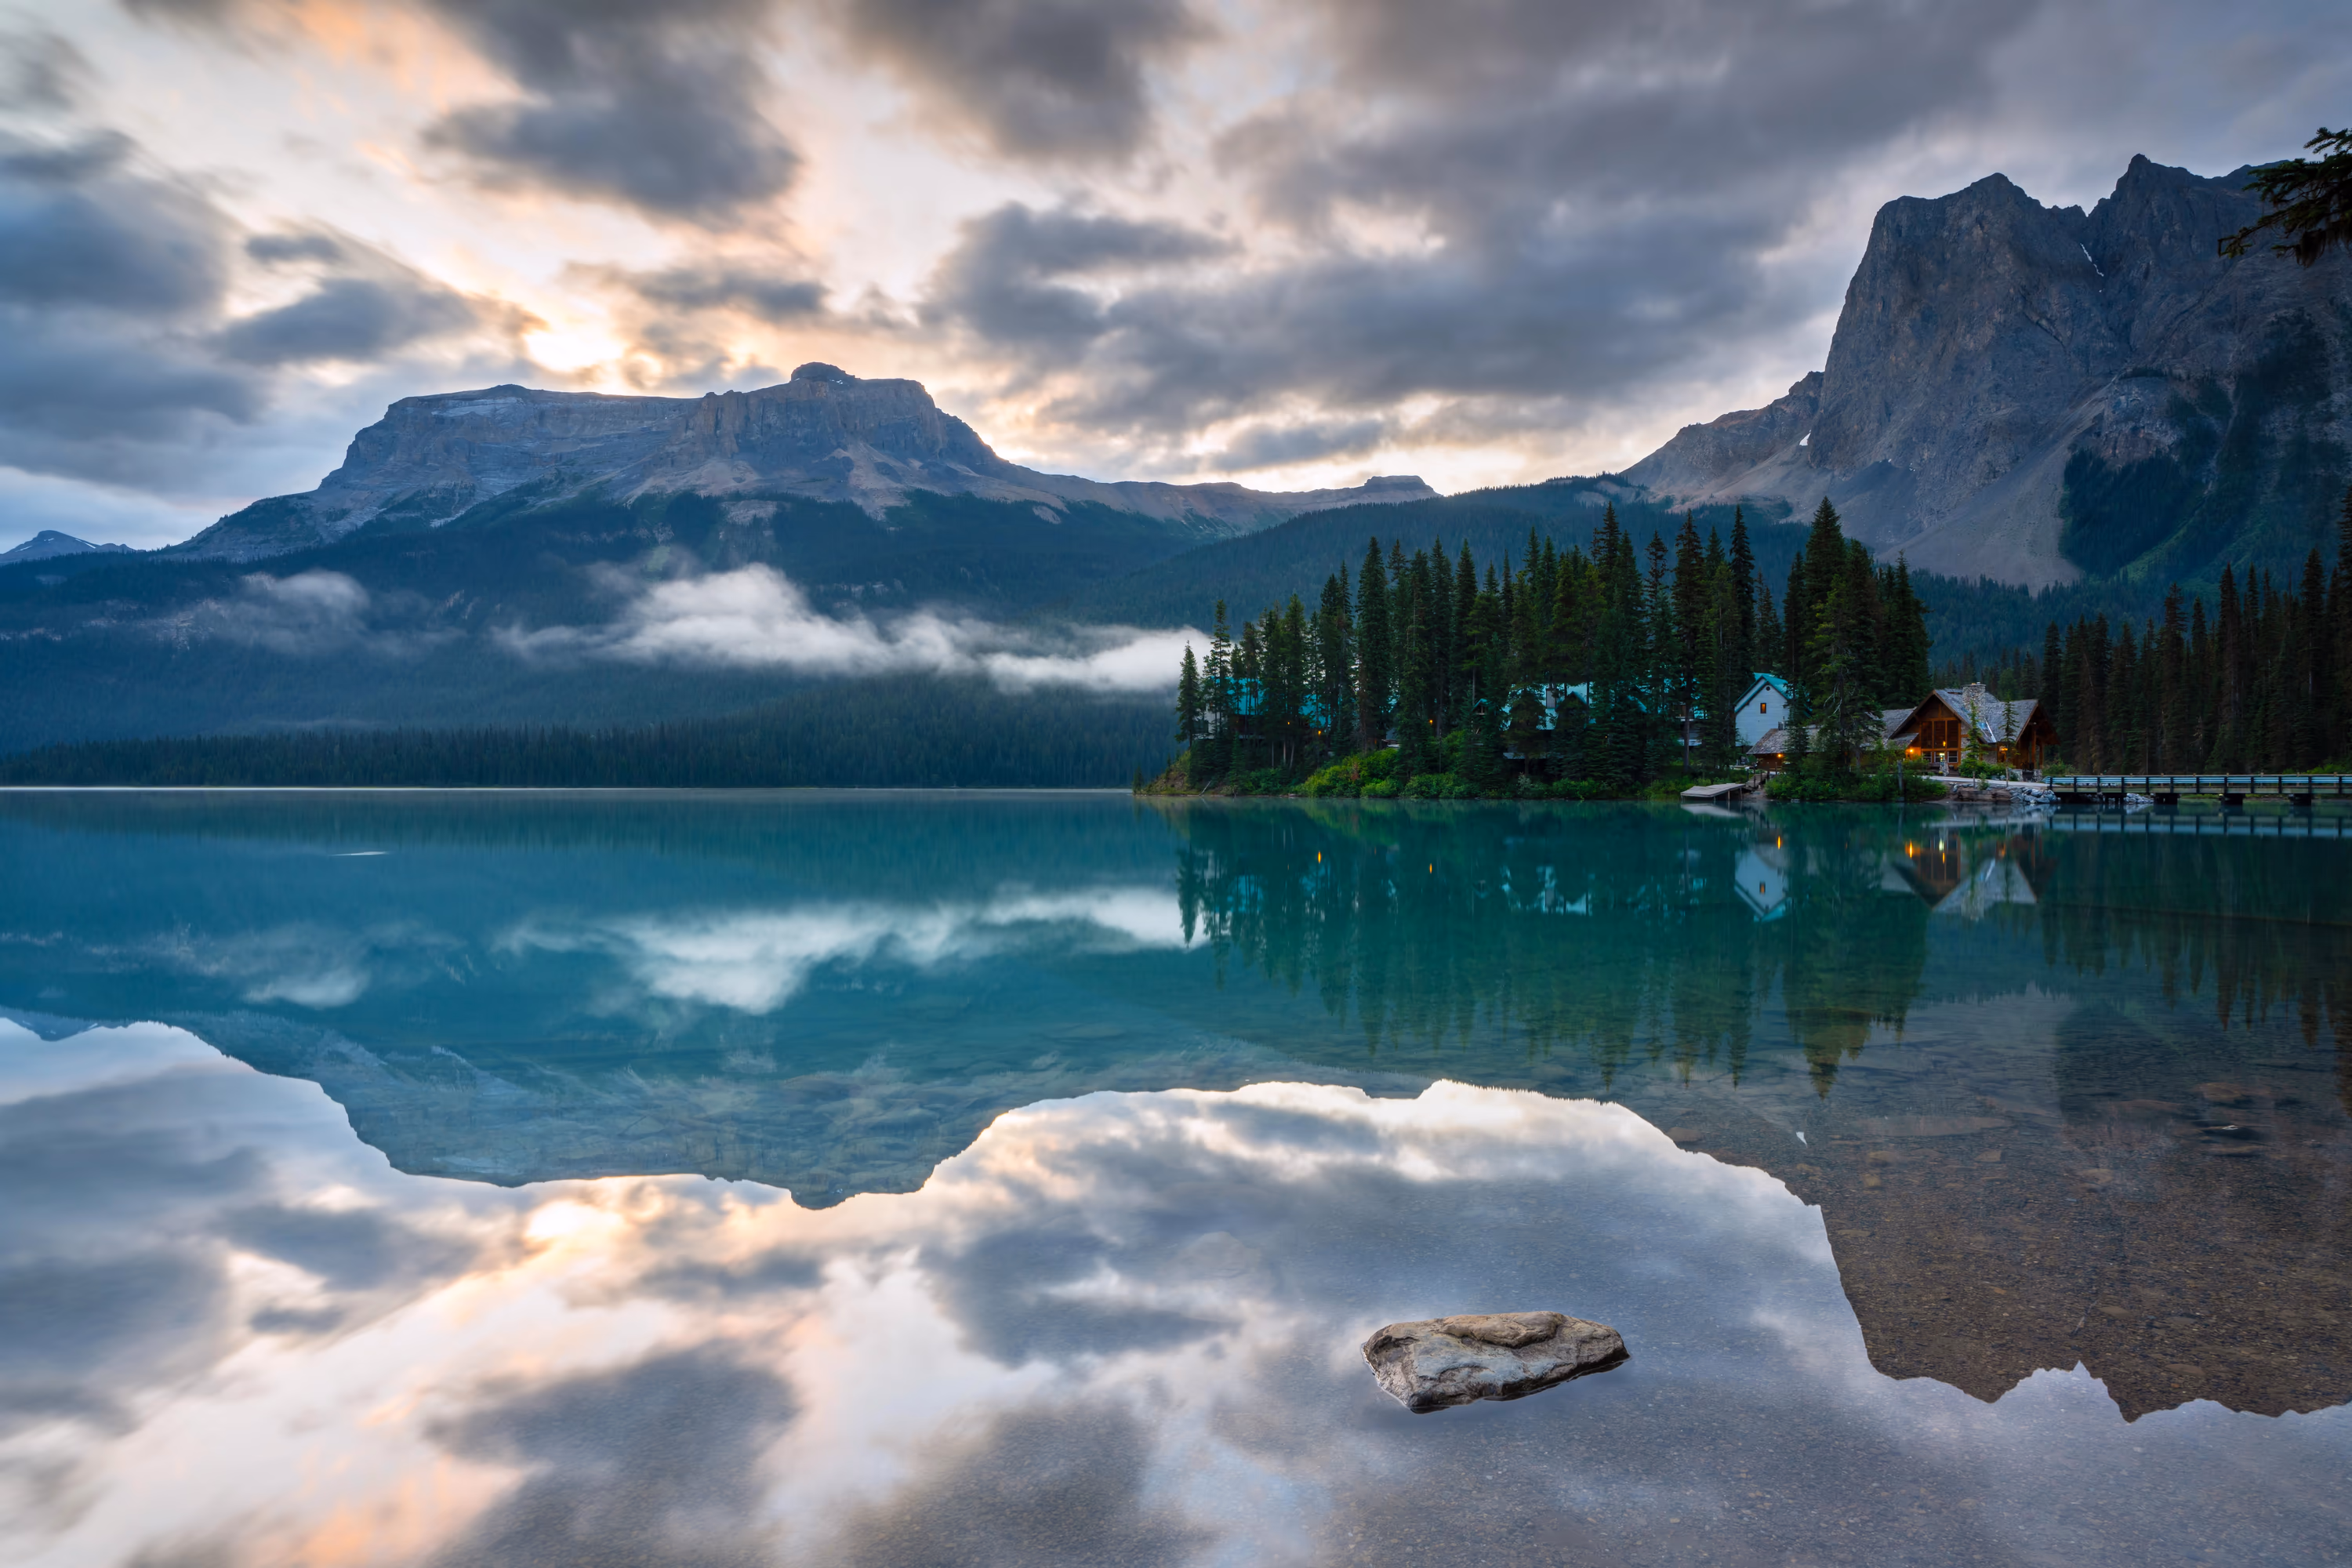
Landscape: Where AVIF really shines
Sky gradients and shadow detail - this is where JPEG falls apart and AVIF excels. The file is 1/4 the size.

PNG vs AVIF (with transparency)
AVIF supports transparency and absolutely crushes PNG on file size.


Those file size differences are not editing tricks - that’s just how good AVIF compression is.
How to actually use it
Always use fallbacks. Always. Here’s the basic pattern:
<picture>
  <source srcset="image.avif" type="image/avif">
  <source srcset="image.webp" type="image/webp">
  <img src="image.jpg" alt="Description" loading="lazy">
</picture>
Browsers will try AVIF first, fall back to WebP if they don’t support it, and use JPEG as the last resort. Everyone gets the best format their browser can handle.
Responsive images (yes, it gets verbose)
Combine AVIF with responsive images for maximum efficiency:
<picture>
  <!-- AVIF for modern browsers -->
  <source
    type="image/avif"
    srcset="image-400.avif 400w,
            image-800.avif 800w,
            image-1200.avif 1200w"
    sizes="(max-width: 600px) 400px,
           (max-width: 1200px) 800px,
           1200px">

  <!-- WebP fallback -->
  <source
    type="image/webp"
    srcset="image-400.webp 400w,
            image-800.webp 800w,
            image-1200.webp 1200w"
    sizes="(max-width: 600px) 400px,
           (max-width: 1200px) 800px,
           1200px">

  <!-- JPEG fallback -->
  <source
    srcset="image-400.jpg 400w,
            image-800.jpg 800w,
            image-1200.jpg 1200w"
    sizes="(max-width: 600px) 400px,
           (max-width: 1200px) 800px,
           1200px">

  <img src="image-800.jpg" alt="Description" loading="lazy">
</picture>
Yeah, it’s a lot of code. But build tools can generate this automatically.
Background images
Use CSS feature detection:
.hero {
  background-image: url('hero.jpg');
}

@supports (background-image: url('hero.avif')) {
  .hero {
    background-image: url('hero.avif');
  }
}
Quality settings that actually work
AVIF quality numbers don’t match JPEG numbers at all. Here’s what actually works:
For photos:
- Quality 60-70: Looks like JPEG quality 85-90 (this is the sweet spot)
- Quality 50-60: Looks like JPEG quality 75-85
- Quality 40-50: Looks like JPEG quality 65-75
Start at quality 60 and adjust from there. Trust your eyes, not the numbers.
Speed settings also matter:
- Speed 6-8: Fast encoding, slightly bigger files (good for testing)
- Speed 4-5: Balanced (use this for production)
- Speed 0-3: Very slow, smallest files (use for hero images you’ll encode once)
Example:
# Fast for testing
avifenc -s 6 -q 60 input.jpg output.avif

# Production (balanced)
avifenc -s 4 -q 60 input.jpg output.avif

# Maximum compression for that one hero image
avifenc -s 0 -q 60 input.jpg output.avif
The honest drawbacks
AVIF isn’t perfect. Here’s what you should know:
Encoding is slow. Like, really slow compared to JPEG or WebP:
- JPEG: 0.2 seconds
- WebP: 0.8 seconds
- AVIF: 5-15 seconds (sometimes longer)
Solution: Pre-generate your AVIF files during your build process. Never convert on-the-fly when users request images.
Browser support isn’t universal yet. 85% is good, but not 96% like WebP. You need those fallbacks.
Memory usage is higher. AVIF uses about 1.5x more RAM than JPEG during decoding. Most devices handle it fine, but keep an eye on mobile.
Email support is basically zero. Don’t use AVIF in email campaigns. Stick with JPEG/PNG for now.
Converting to AVIF
Command line
Install the tools:
brew install libavif  # macOS
apt-get install libavif-bin  # Linux
Convert an image:
# Basic conversion
avifenc -s 4 -q 60 input.jpg output.avif

# Lossless (for graphics)
avifenc --lossless input.png output.avif

# With film grain (looks more natural)
avifenc --enable-grain-synthesis -q 60 input.jpg output.avif
Online tools
If terminals aren’t your thing:
- Our converter (works great, supports batch processing)
- Squoosh.app (Google’s tool, excellent for testing)
- Various CDNs handle this automatically
For photographers
If you’re converting from RAW files:
- Export from RAW as 16-bit TIFF
- Convert TIFF → AVIF with 10-bit color
- Use quality 65 as a starting point
- Check the result on both SDR and HDR displays
- Zoom to 100% and make sure details look good
Don’t convert JPEG → AVIF if you can avoid it. That’s double lossy compression and it shows.
When to actually use AVIF
Perfect for:
Hero images: The bigger the image, the more you save. A 1920x1080 hero image that’s 845 KB as JPEG might be 276 KB as AVIF. That’s a 67% reduction.
Photography portfolios: If image quality matters to you, AVIF is your friend. Better compression + better quality + HDR support = perfect for showing off your work.
E-commerce: Product photos load faster, look better, and cost less to host. Win-win-win.
High-traffic sites: When you’re serving millions of images, those file size savings translate to real money on your CDN bill.
Skip it for:
Need 100% browser coverage? Stick with WebP + JPEG. The 15% of users on old browsers might be important to you.
Real-time processing? AVIF encoding is too slow for on-the-fly conversion. Pre-generate everything.
Simple logos/icons? SVG is still better for vector graphics.
Email campaigns? Email clients don’t support it yet. Maybe in 2026.
How to migrate without breaking everything
Don’t convert everything at once. Here’s a sane approach:
Week 1: Test it out
- Convert 10 images that represent your site (photos, graphics, whatever)
- Check them on different browsers and devices
- Make sure they actually look good
- Measure the file size savings
Week 2-3: Start small
- Implement AVIF for just your hero images
- Set up proper fallbacks (AVIF → WebP → JPEG)
- Monitor your Core Web Vitals
- Make sure nothing broke
Month 2: Expand
- Add AVIF for product images or featured photos
- Automate your conversion pipeline
- Update your CMS if you’re using one
Month 3+: Go all in
- Convert your entire image library
- Clean up your build process
- Watch your bandwidth bills drop
Real-world results
Photography site:
- Before: 100 images × 400 KB = 40 MB per page
- After: 100 images × 160 KB = 16 MB per page
- Result: 60% reduction, pages load 3x faster
E-commerce:
- Before: 50 product images × 200 KB = 10 MB
- After: 50 product images × 80 KB = 4 MB
- Result: Faster browsing, better mobile experience, lower bounce rate
Blog:
- Before: 800 KB hero images
- After: 280 KB hero images
- Result: First Contentful Paint improved by 1.5 seconds
The bottom line
AVIF is no longer experimental - it’s production-ready if you implement it right. The file size savings are real, the quality is noticeably better, and 85% browser support is good enough with proper fallbacks.
Is it more work than just uploading JPEGs? Yes. Is it worth it? Also yes. Your users get faster load times, you get lower bandwidth bills, and your images actually look better. That’s rare in web development - usually it’s trade-offs, but this is just… better.
Want to see what your images look like as AVIF? Try the converter →
Related stuff worth reading:
- WebP: Google’s Modern Format - Not quite as small as AVIF, but more compatible
- Color Spaces Explained - Why your images look different on different screens
- Responsive Images Guide - How to serve the right size to each device
- HDR Imaging on the Web - Making the most of modern displays
Questions? We’re a small team and actually read our emails - reach out if you need help with AVIF.